Here are my home build recumbents
 83K
83K
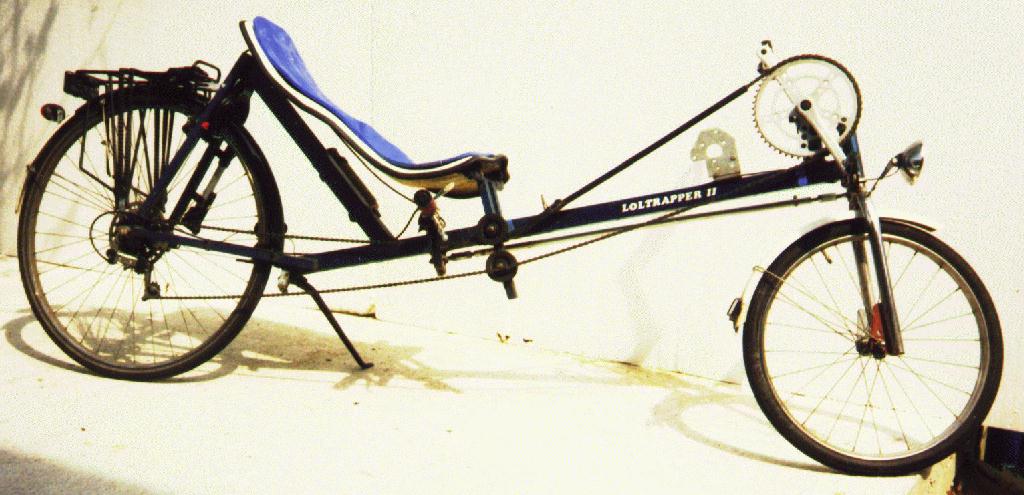
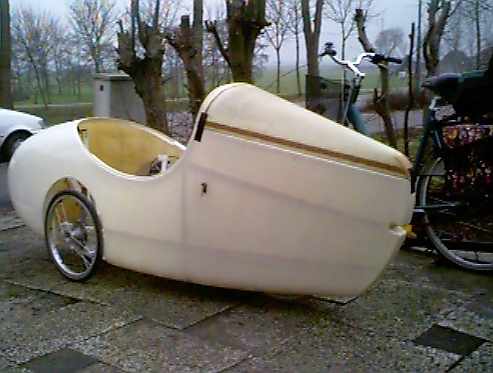
This picture is taken from my first recumbent, it's made of used parts which I got for free from a local Bicycle shop (Blom in Mijdrecht), some 2mm steel and a FlevoBike seat.
 90K
90K
 76K
76K
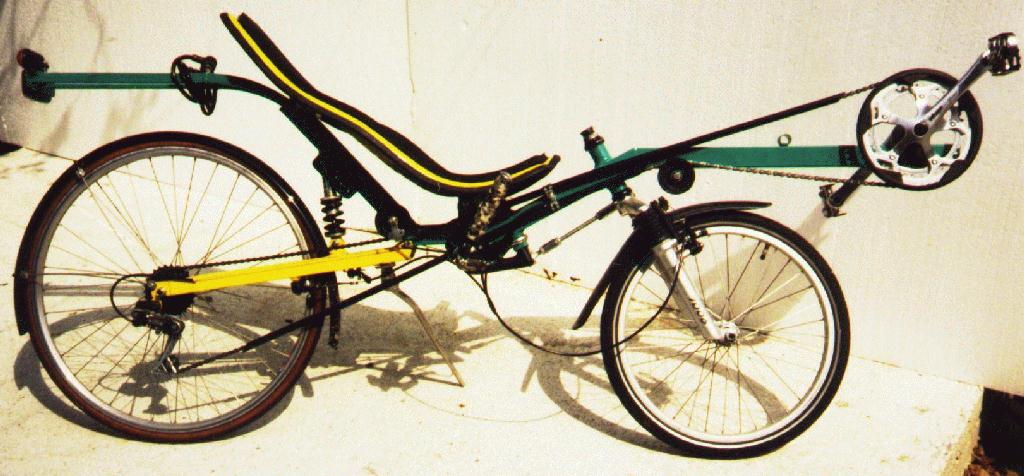
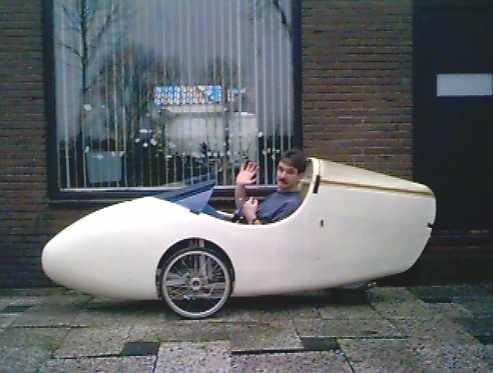
Getting enthousiastic I've built the other one for Anique (my wife) using new parts. It's a very comfortable recumbent and I use it instead of my own whenever I get the change. I got a lot of hints and tips for buidling this one from the "Liggende Hollander", a recumbent shop in Eindhoven in the Netherlands.
Well it seems ages ago since I updated this page, but guess what.... I found me a beautifull second hand streamline on the Internet the other day so the next project has started. I feel sorry to say, but my first recumbent is no more (the blue one at the top). I am in the process if transforming that into a tadpole trike to support the streamline. First I'll make a quick and dirty version for learning purposes. No suspension, but changable camber, caster etc. so I can decide how the final version will become. I learned an awfull lot from Rick's Innovative Cycles. Specially the Tricycle design part shouldn't be missed. I personally never had heard about "anti-ackermann" to avoid overstearing feelings at higher speeds before.
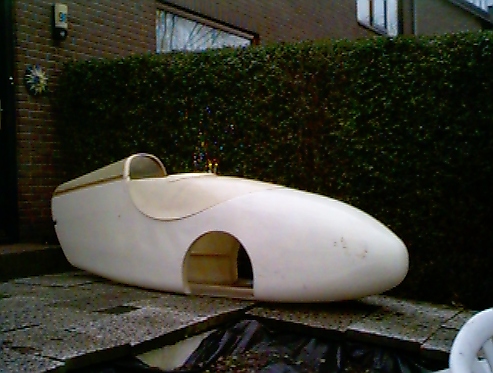
The streamline originates from Bram Moens, a very famous dutch bicycle designer, builder and racer. The frame is already on its way. Today I ruined a hub though trying to adapt it for a stub axle. Well the first version was for learning anyway and it was an old hub alright. Maybe I should simply go for a complete set of wheels with drum brakes from Flevobike.
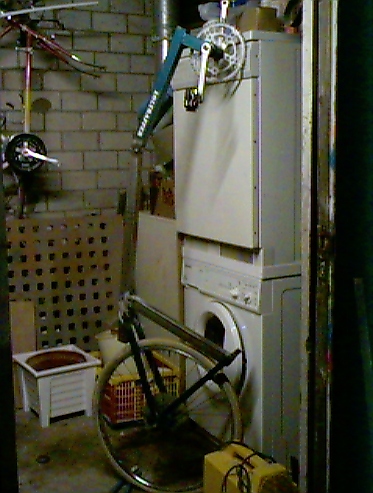
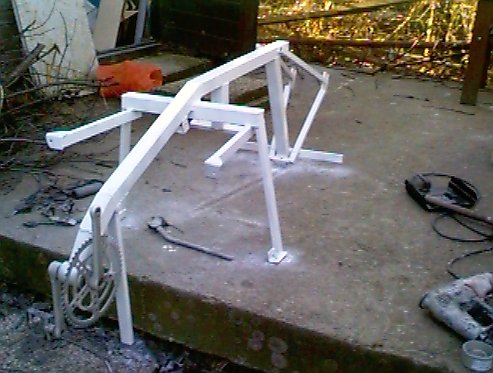
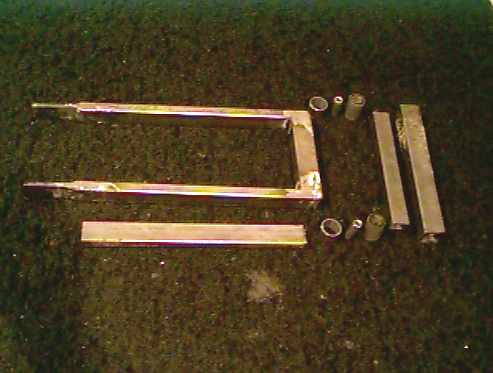
Here's the status of the test frame sofar. As you can see there's mainly the old recycled parts, so no costs at all sofar. And yes it's cold outhere at the moment so I am building it in the shed next to the washing machine and dryer.
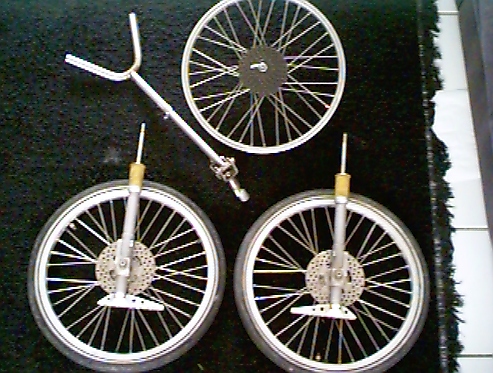
Whoops, I went to Flevobike today to buy me a new set of wheels. Look what I found there instead at their second hand corner. I feel very lucky living not too far from such a great source of recumbent material. The only drawback is that the frame will get a little more complex now. But wow, disc brakes and Mc Pherson :-)
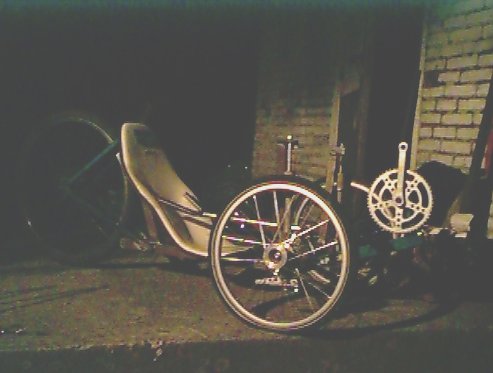
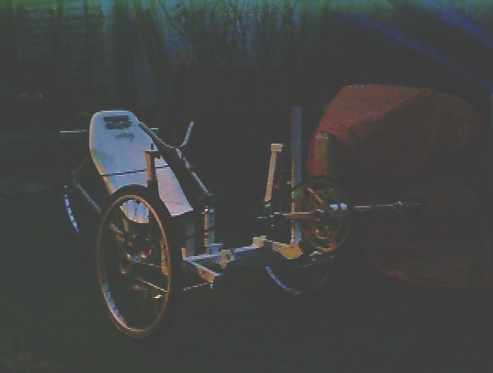
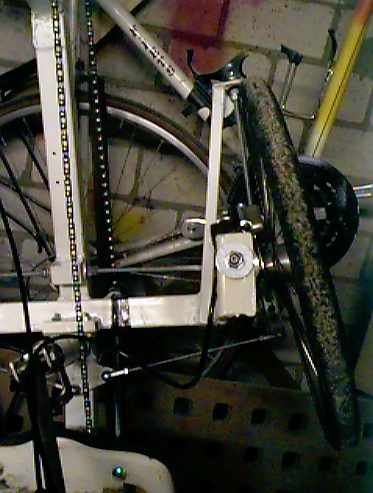
I had some delay figuring out how to include the new wheels into the design. The streamline is quite a bit smaller than an "Alleweder" in which the wheels and suspension are normaly used. So there is not much space left. But it fits and I've welded the arms to support the wheels and have a "rollable" trike now. It was in the evening when I reached that stage and my digital camera doesn't have a flashlight so the quality of the picture is kinda poor sorry ...
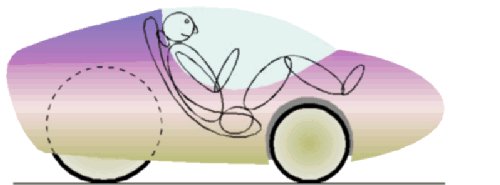
It's lousy weather outside and I am at a stage where my shed isn't big enough to have both the streamline and the frame inside to combine them. I also can't test drive it because of the wet and salted roads and the frame not being painted. So I was sitting behind my computer trying to figure out how the window should become. Originaly it has a small window which I have drawn using dotted lines. If somehow I can find a way to heat a larger piece of lexan, I would like to go for the window drawn and painted in blue. Anybody out there who has an oven available which I could use to heat the larger window ??? There's no hurry, I should make a positive mold for it first. By the way, I get more and more the feeling that for the definite version I should adapt the streamline so it becomes self-carrying. Meaning I consider adding a lot of epoxy with glassfibers and kevlar to the streamline to make it strong and stiff enough to do so. Still considering .....
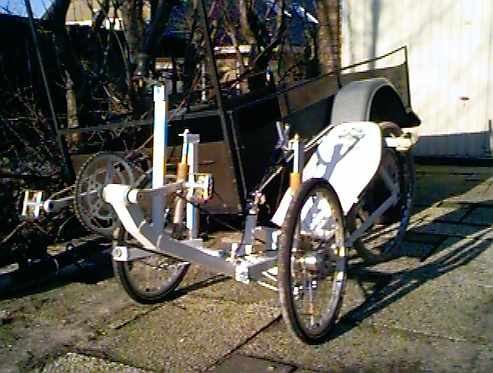
At last we had some nice weather so I could adapt the frame to fit into the fairing and paint it. Soon I'll be ready for assembling and test driving. On the picture the frame stands upside down (just so you could regognise what you're looking at :-).
Almost there (if it wasn't for that rain coming in again today .......). Well it just needs brakes now and we can go for a ride.
Oh oh, no brakes yet. It turned out I had the wrong nipple to get the air out of the braking fluid. I tried it by hand pressing the tubes as tight on the claws as possible, but without succes. I decided to make me a first (very carefull) test drive anyhow. It was very funny. First quick experiences. There was far less noise as I had expected. I was afraid there would be a lot so I used pieces of an old inside tube whenever I had to connect something to the streamline. It seems to work fine. Somehow a few minor measurement failures seem to have occured. The right wheel is a bit too much to the right (could also be a welding error) and the seat is a few centimeters too high. Both easy to solve though. Maybe the rear wheel is positioned a little too high. That's a little more of a challenge to change. Well I wanted to have suspension overthere as well anyway. I was a bit dissapointed by the radius of the maximum turning circle. But at the same time I wouldn't like the steering to get more sensitive than it is (it feels nice the way it is now). I wonder how difficult a progressive steering mechanism would be to construct (I've never seen a design or have even been thinking about how that would look).
Pictures from the cocpit and the very first time out for the bike. "Hello world".
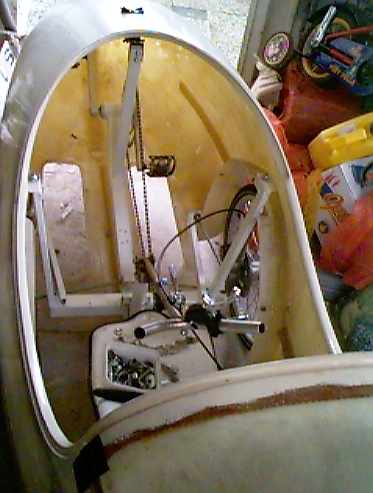
Quite a few people commented on the drawing above that the window would be hard to look through (thanks to you all, it's very much appreciated). I tried a little windshield to test that and it turned out they were all absolutely right. But it does look way cool doesn't it ??? (and yes I know a blue screen causes blindness on the long term, I used some leftovers from the robots) Well maybe if I change the angle a little ....... :-) On the picture I have placed the rearwheel on a small brick. I think it looks nicer this way and I get a much better view forward. I assume the aerodynamics will suffer a bit, but I think I go for this setup. Meaning I have to change the rear fork and since I'll be working on it I'll add the suspension right away. Most of those parts will be used in the final version anyhow.
Thanks to Anique for taking the picture with me inside the bicycle.
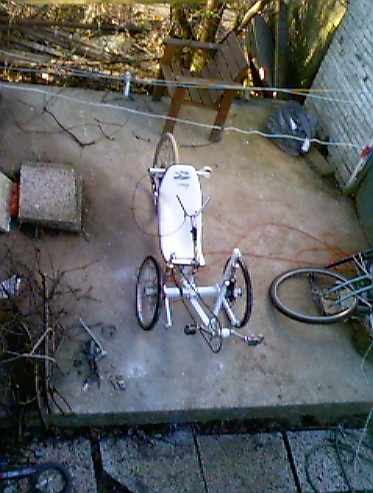
I have modified the experimental frame a little and positioned the wheels a little more inwards. That caused an unexpected problem. The steering is suddenly limited by the front stabilizer. I hadn't expected that (view from the top on the picture, sorry for the confusing bicycle hanging on the wall behind). Now lets see how to solve that one .... I made a real test drive now. Disc brakes are just great by the way. Surely a recommendation (specially if you can get them cheap somewhere). Driving the trike was big fun. I drove it without the streamline this time which had a nasty dissadvantage. I never got so dirty from riding a bicycle before. The sand and mud ended up even inside my underwear (and yes I was wearing a rainjacket and normal clothes underneath :-). Last picture is from the new rear fork with some parts still to be welded.
Wow, we suddenly had a sunny (but freezing cold) day overhere. I took the bike out again. I have been lining up the wheels a bit. It doesn't feel too stable in going straight while using force at higher speeds. Maybe the front wheels should be moved a little more forward. I'll let you know the outcome. One topview picture to give you all a better overall look of the frame.
To be continued soon....